Background
之前试了 Diffusers 等软件,生成的图片都不太理想(甚至难看 😸 ),
有些甚至不能选择模型,UI 也不太好用。
所以这次试试 Stable Diffusion WebUI,据说他的 UI 很好用。
我的环境
我的环境是 MacBook Pro M2 Pro。
$ system_profiler SPHardwareDataType

    Hardware Overview:
      Model Name: MacBook Pro
      Chip: Apple M2 Pro
      Total Number of Cores: 12 (8 performance and 4 efficiency)
      Memory: 16 GB
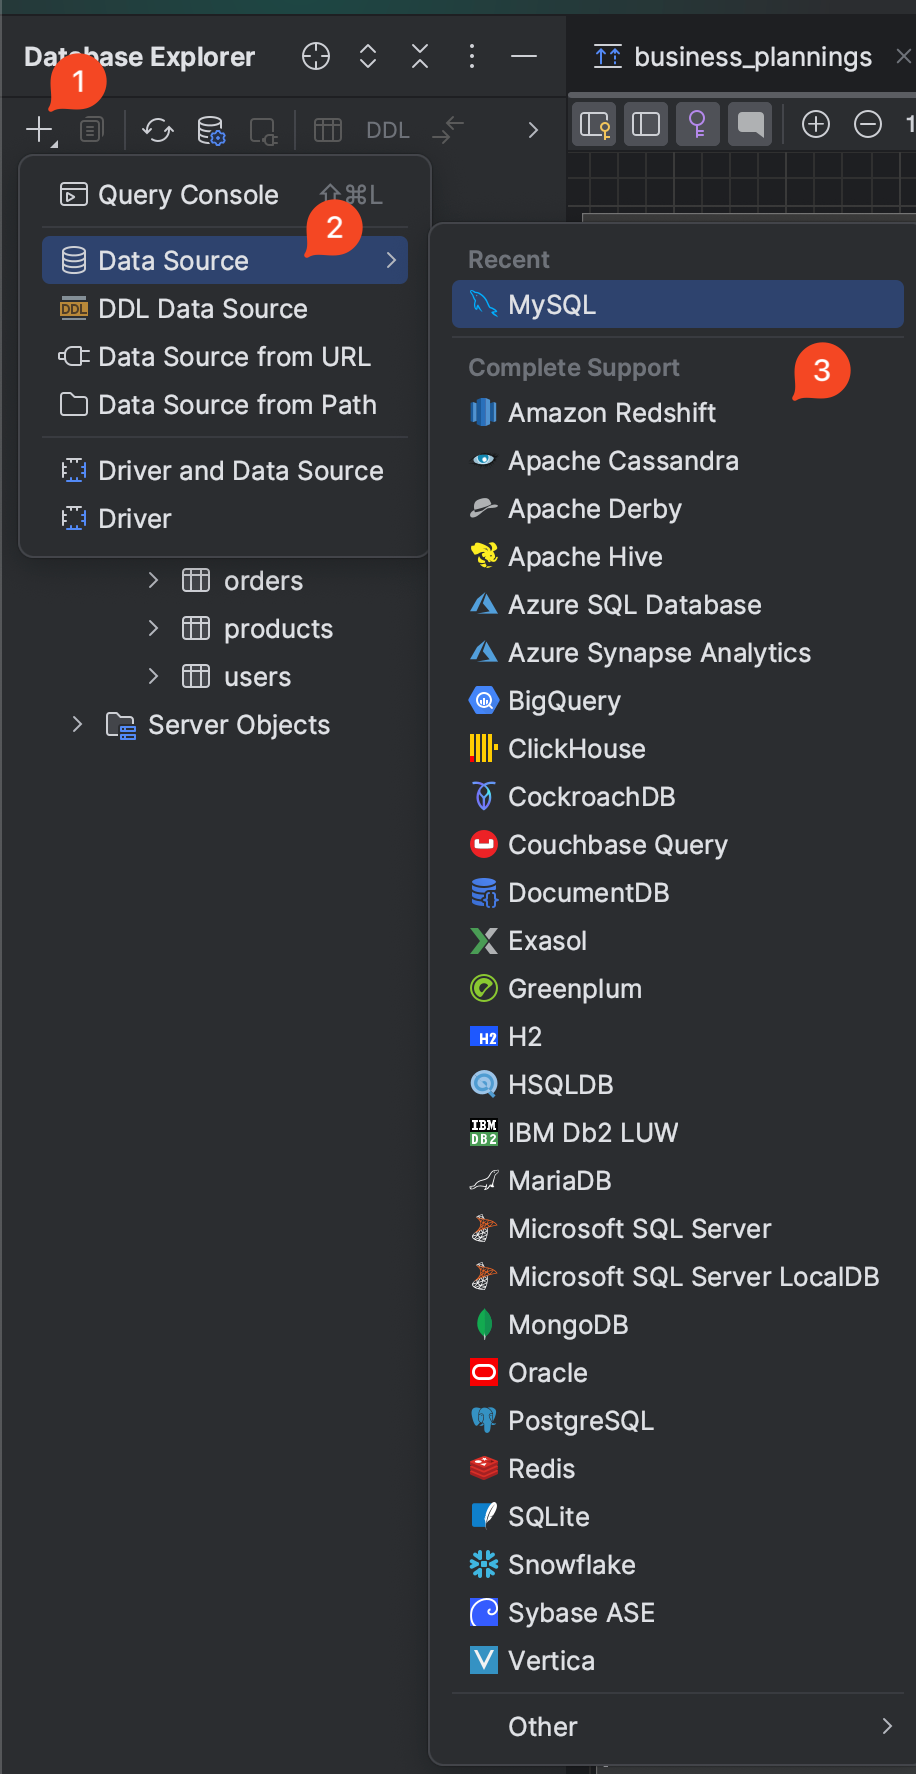
安装方法&运行
安装方法很简单,具体看Github 的 readme 。
brew install cmake protobuf rust [email protected] git wget # install dependencies
git clone https://github.com/AUTOMATIC1111/stable-diffusion-webui # clone the repo
cd stable-diffusion-webui # enter the directory
./weiui.sh # start the app
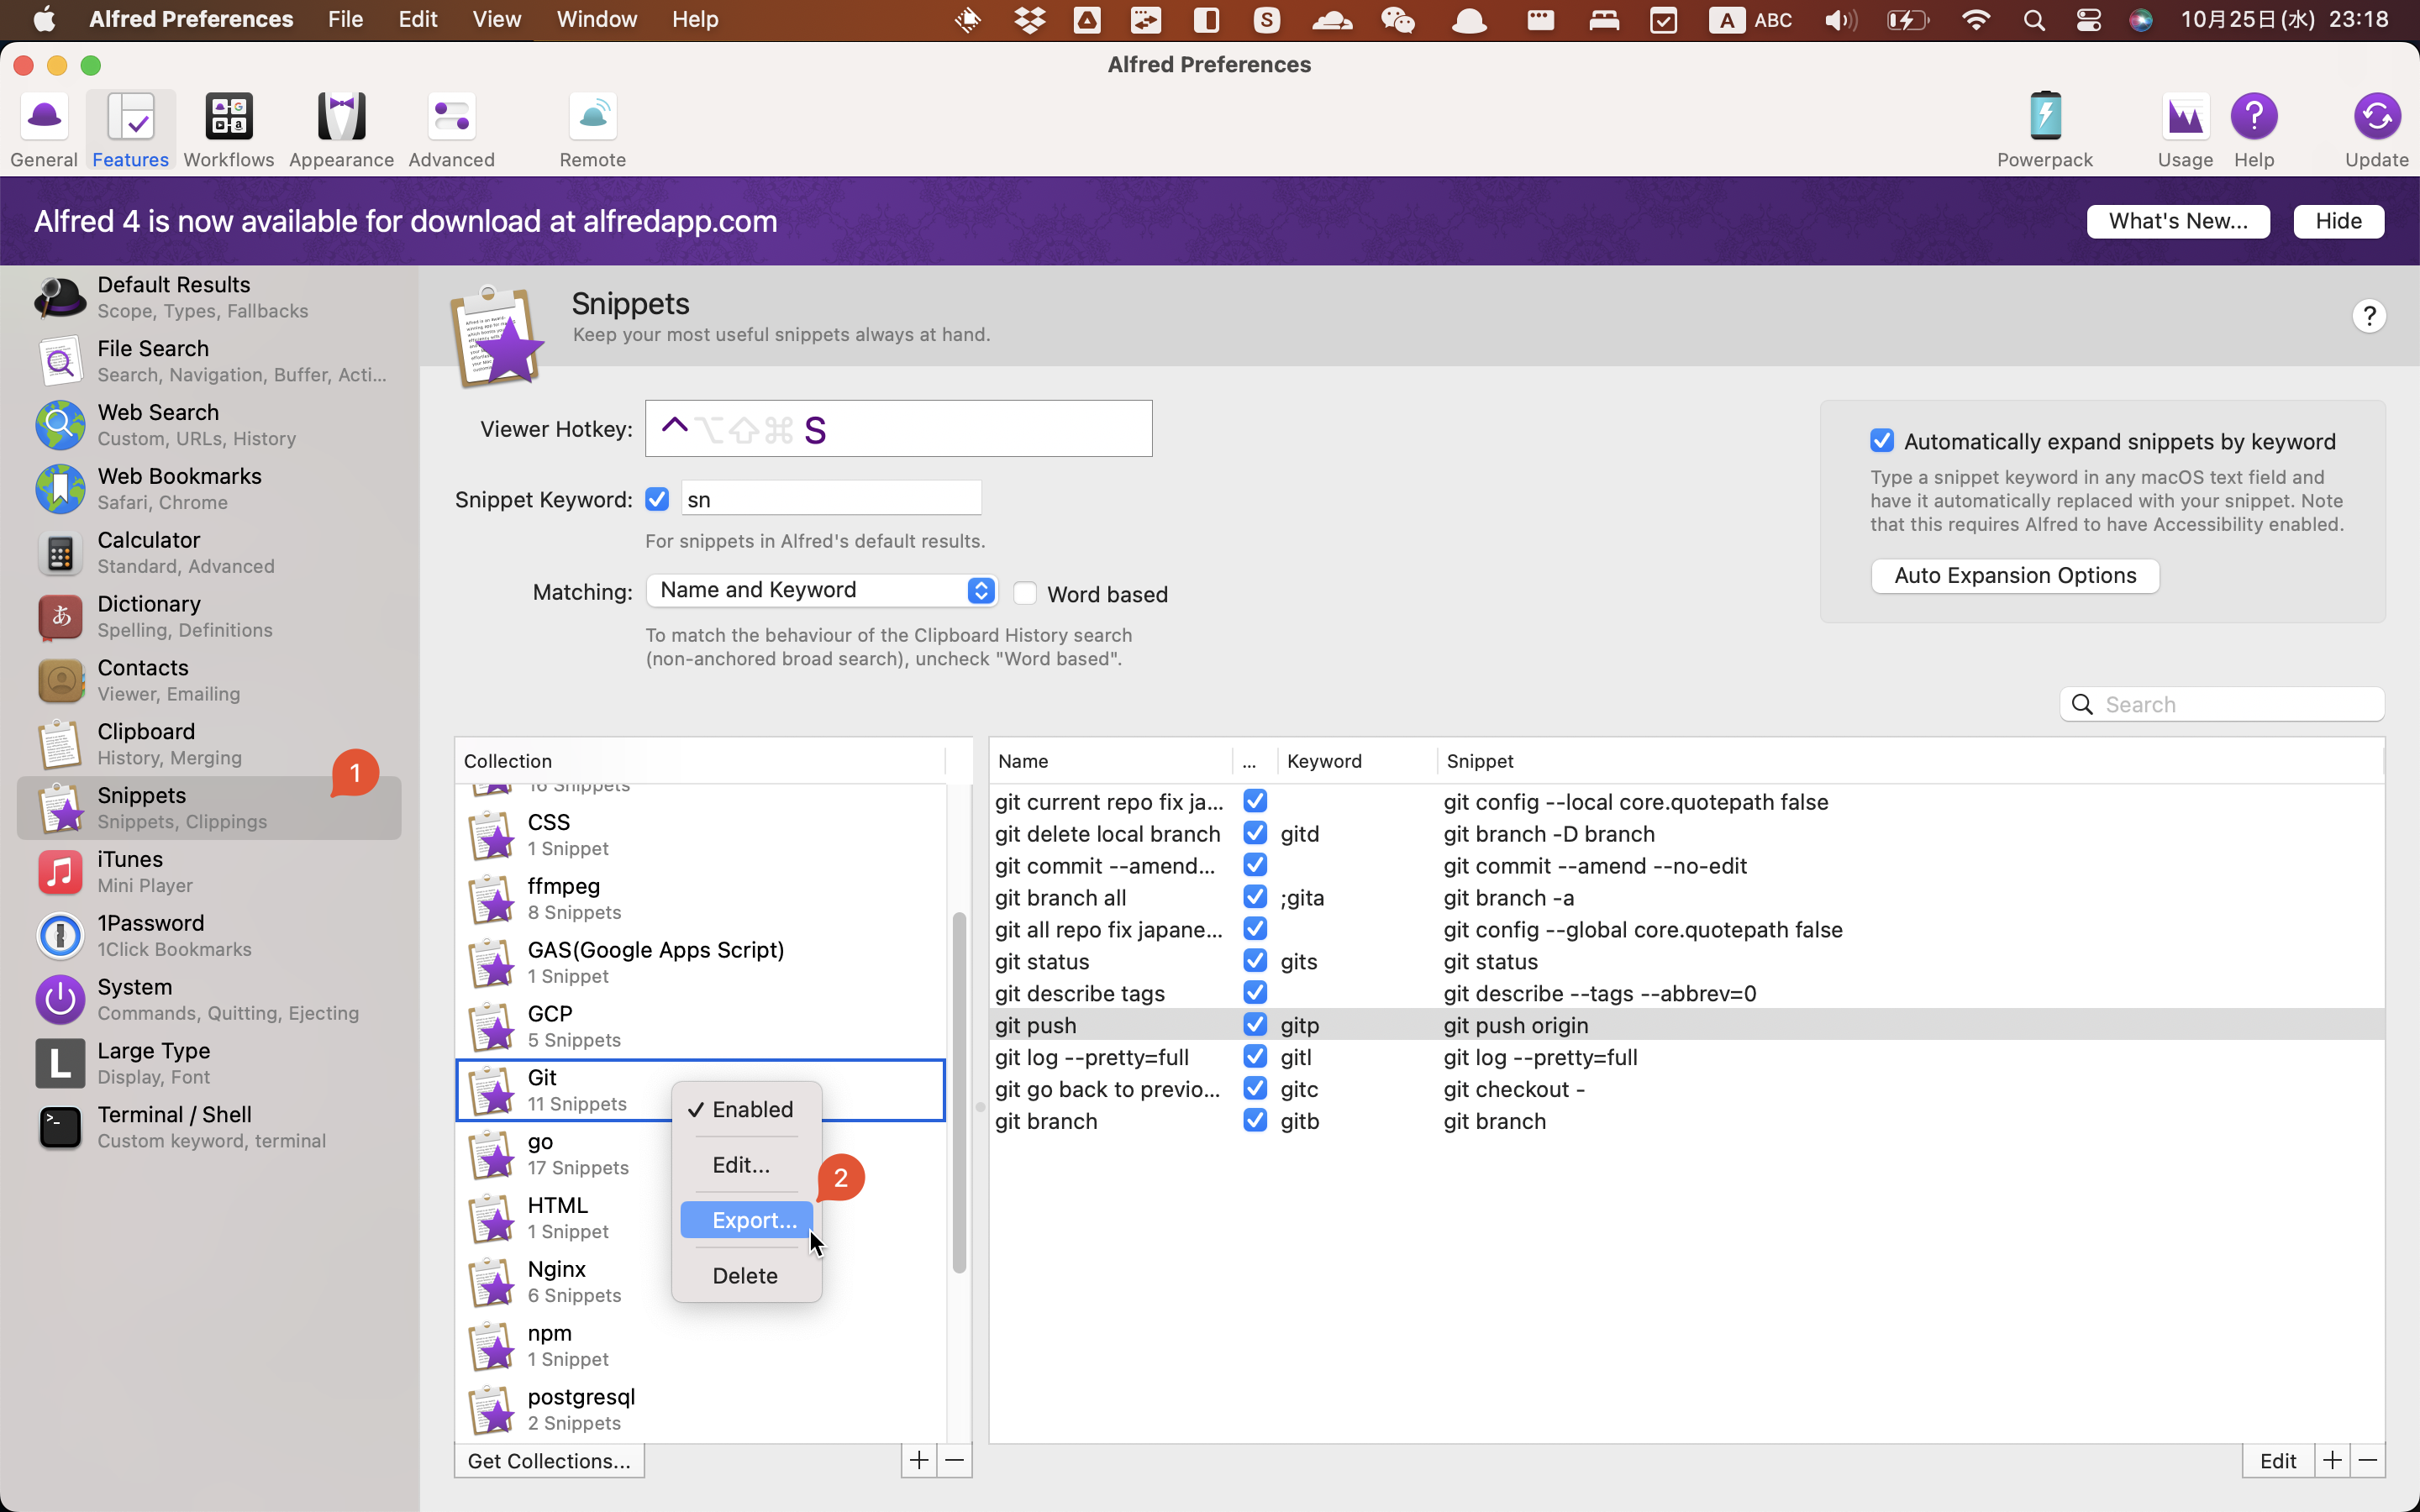
脚本运行后,会自动打开一个网页。
如果没有自动打开,可以手动打开 http://127.0.0.1:7860/ , 就可以看到界面了。
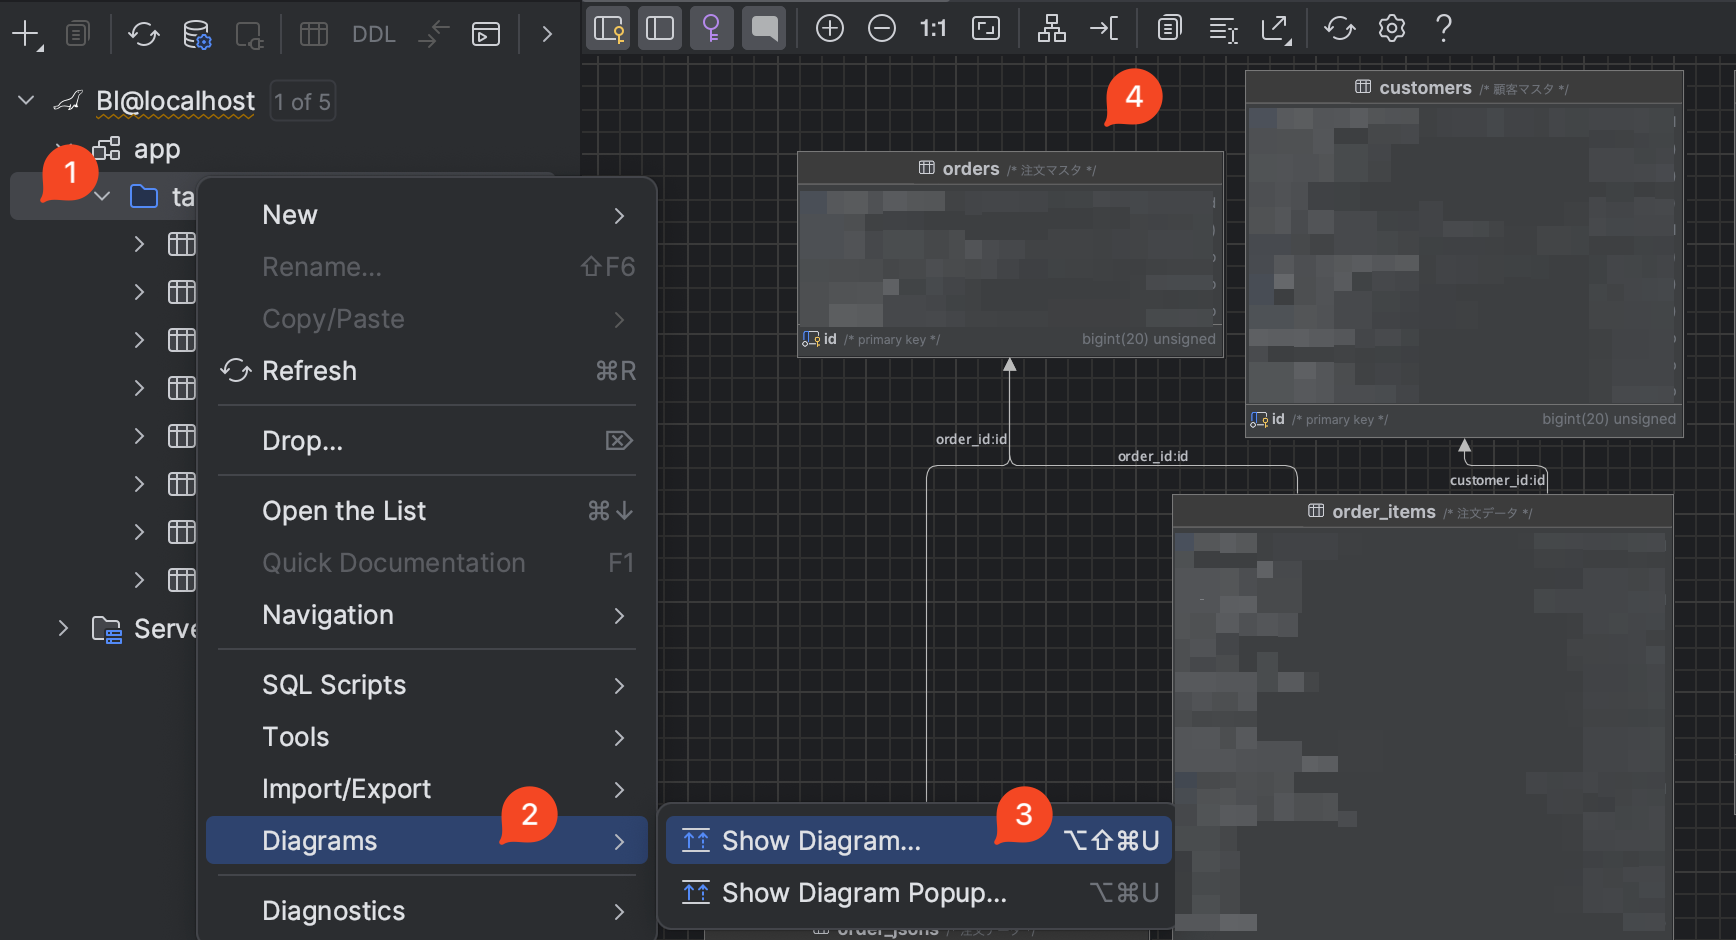
使用方法
下载模型
默认提供一个模型 Stable Diffusion v1-5-pruned-emaonly.safetensors,效果惨不忍睹。
建议直接从 Hugging Face 或者 Civitai 下载。
不相信我提示的可以点击这里看看😄
-
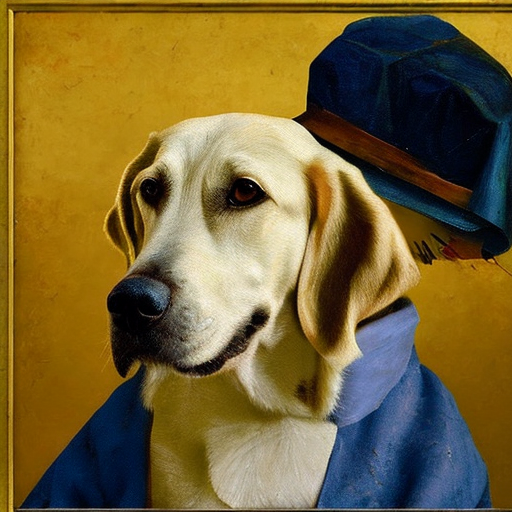
例 1: Prompts:
a little boy playing with a puppy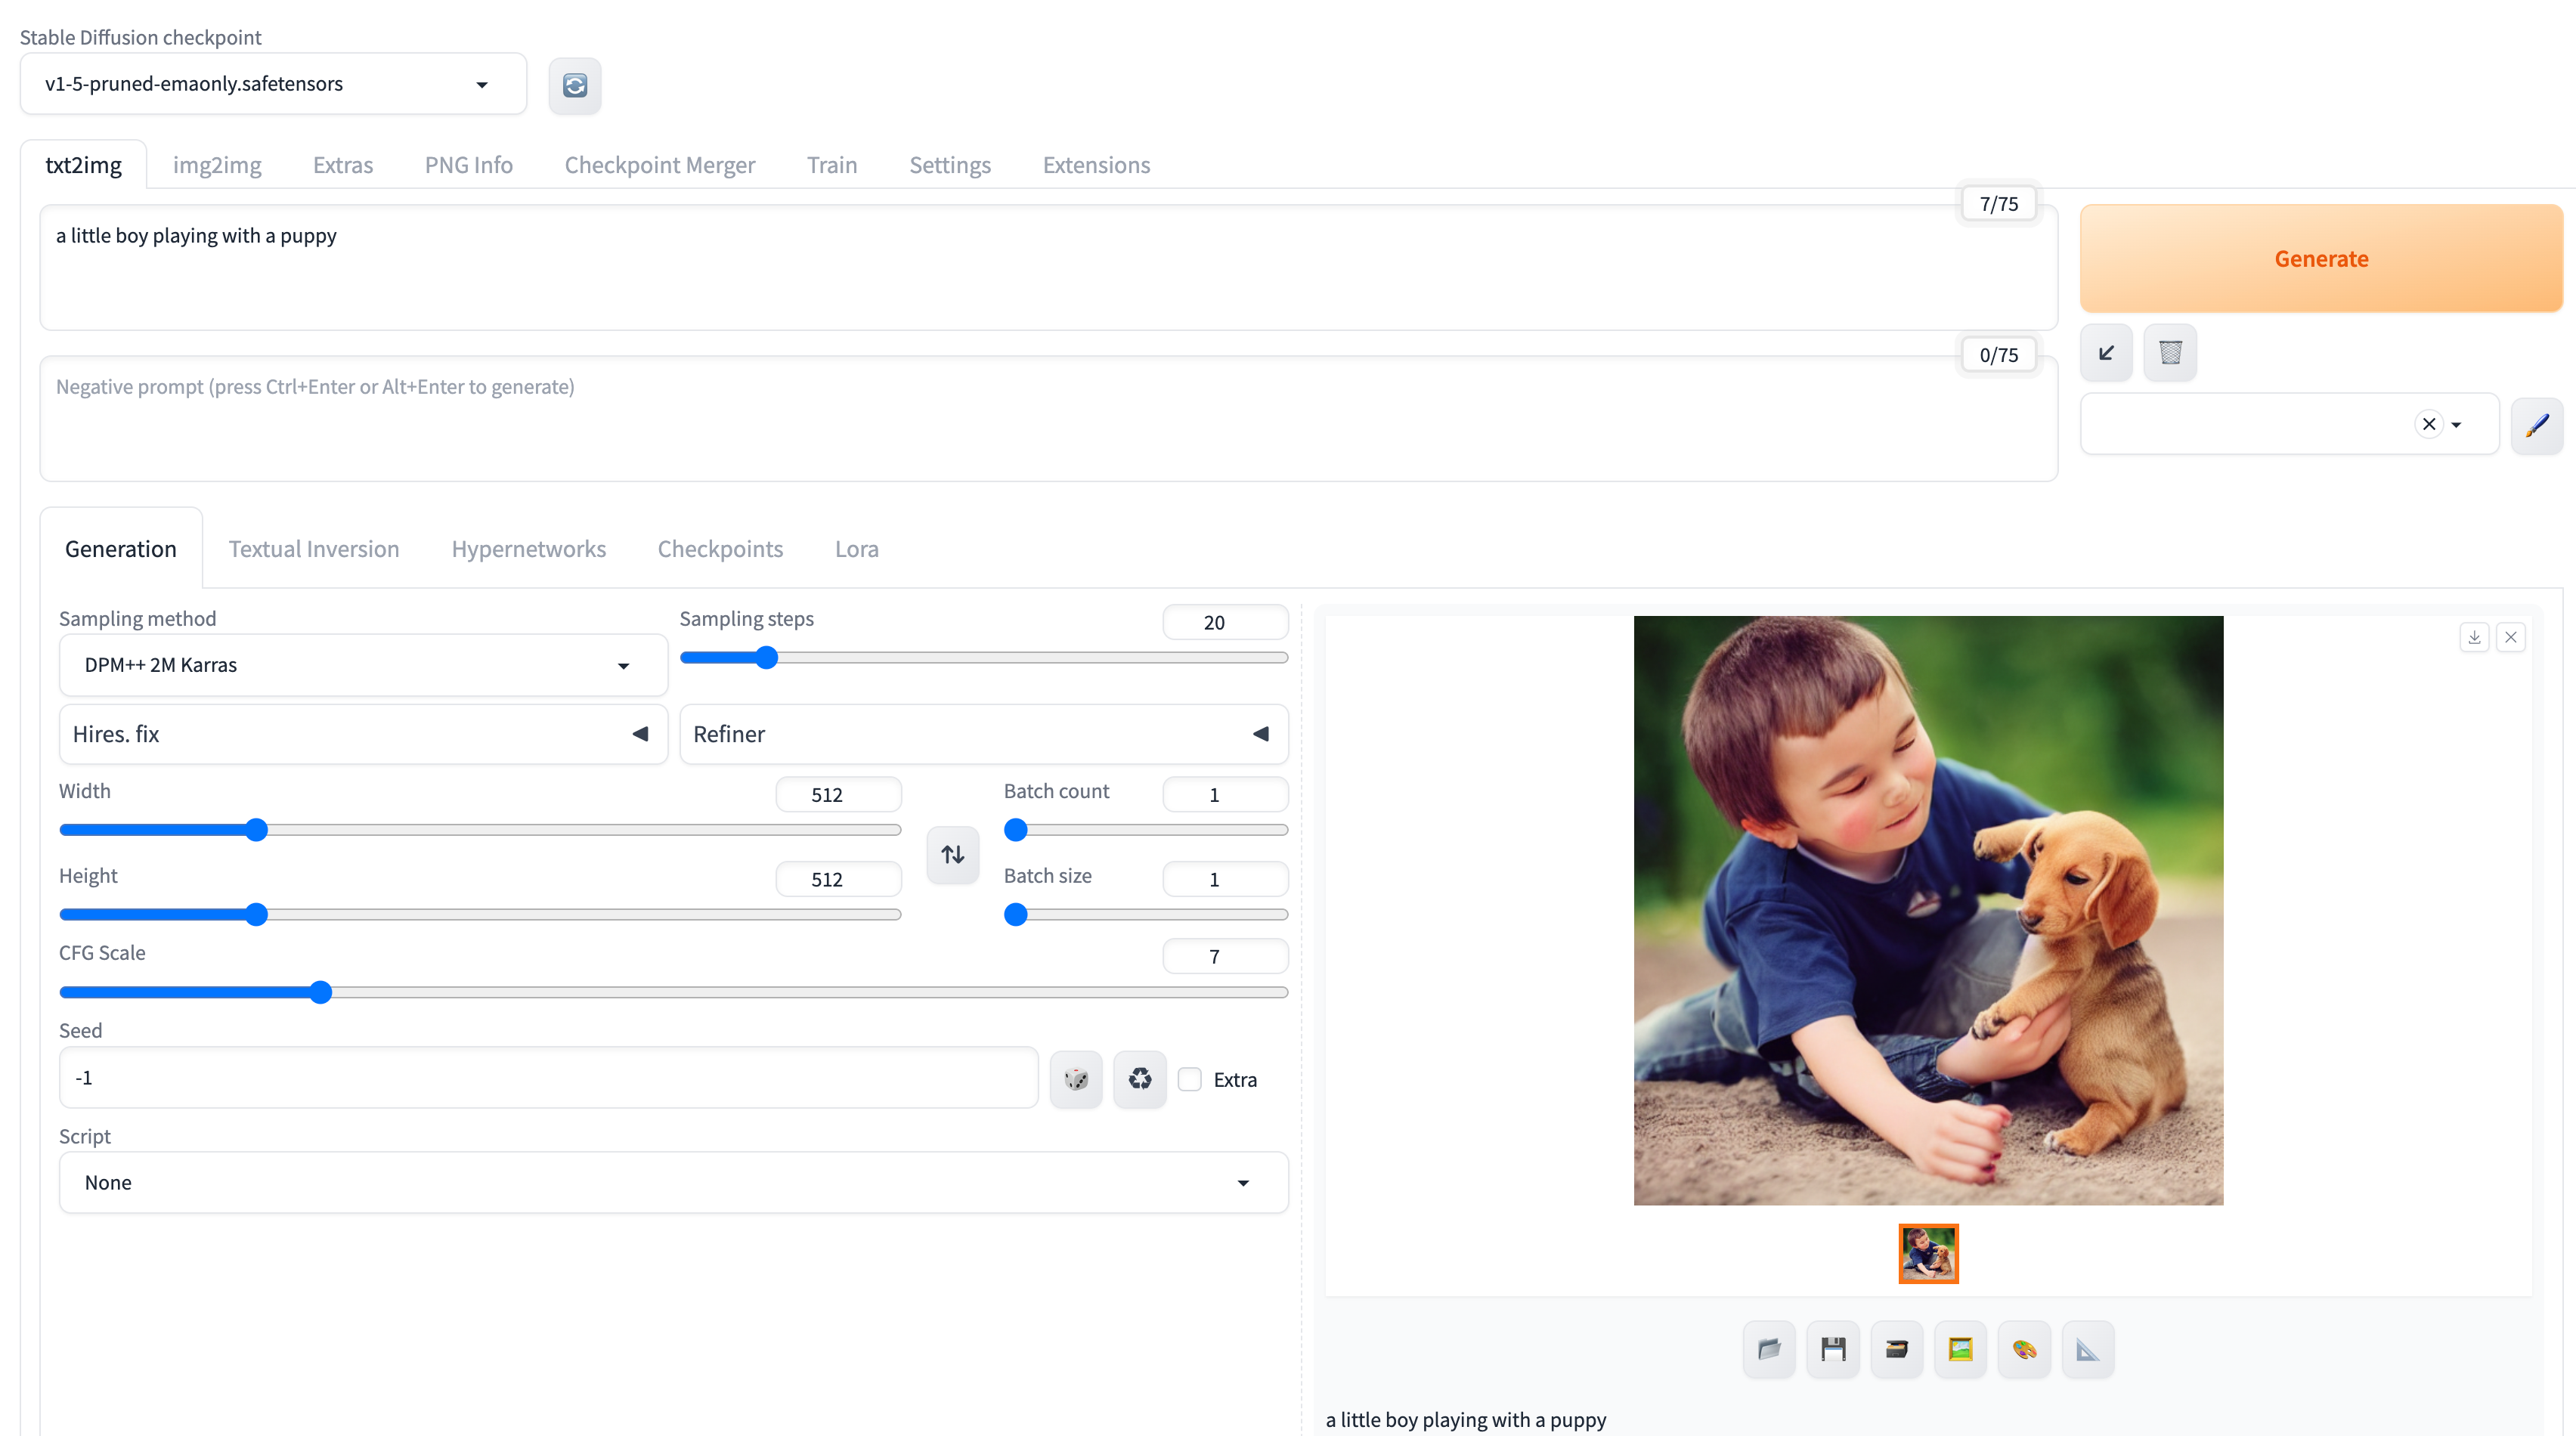
-
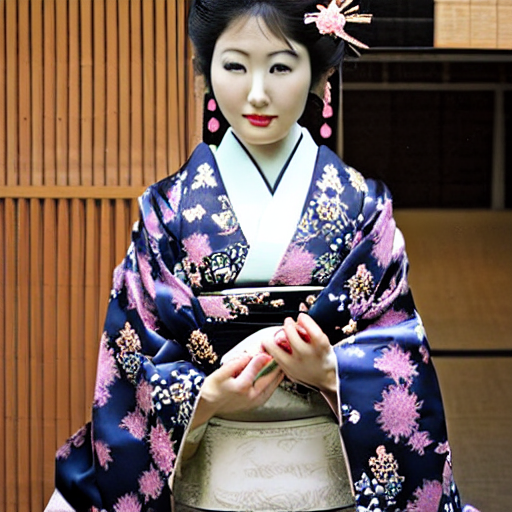
例 2: Prompts:
1girl,face,white background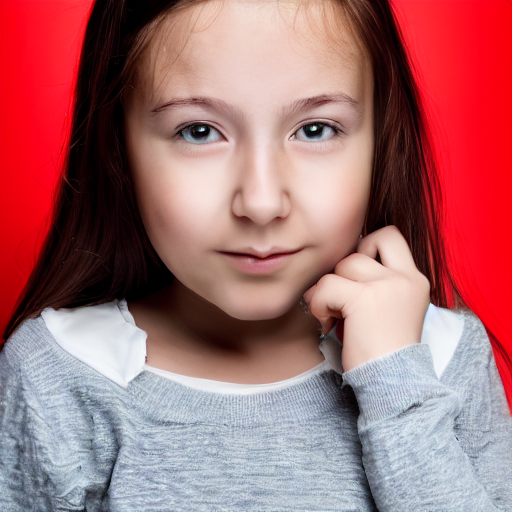
-
例 3: Prompts:
1girl,face,white background -
Negative Prompts:
(worst quality:2),(low quality:2),(normal quality:2),lowres,watermark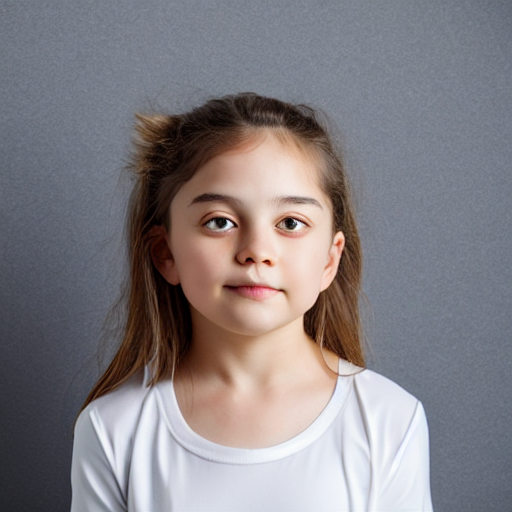
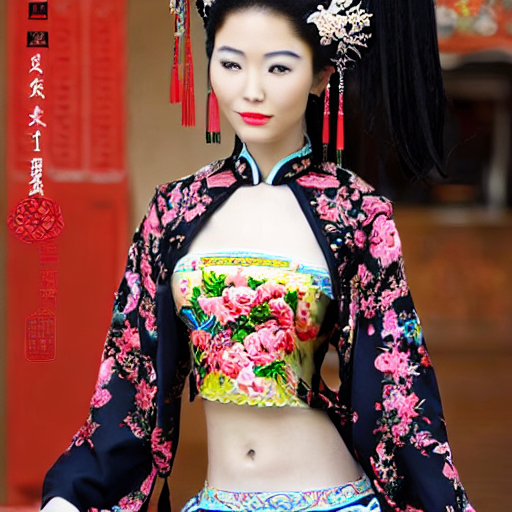
我从 Civitai 下载了一个比较有人气的模型 majicMIX realistic, 再用之前的 prompt 试了试,效果比默认的模型好太多了 😄。
生成结果
-
Prompts:
1girl,face,white background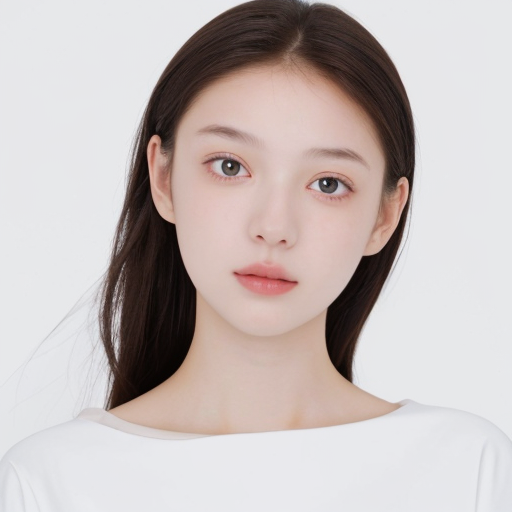
-
Prompts:
1girl,face,white backgroundNegative Prompts:
(worst quality:2),(low quality:2),(normal quality:2),lowres,watermark
Negative Prompts : 用来指定不想要的图片特征,比如 lowres 代表不想要低分辨率的图片。