前言
Docusaurus 是一个由 Facebook 开发的开源项目,用于构建静态网站。
它是一个基于 React 的静态网站生成器,可以帮助您快速创建网站。
Docusaurus 还提供了一个易于使用的博客插件,可以帮助您创建博客。
Docusaurus 默认不提供 RSS 导航菜单,在本文中,我们将介绍如何为 Docusaurus 博客添加 RSS 导航菜单。
怎么给 Docusaurus 博客 添加 RSS 导航菜单
docusaurus.config.js
module.exports = {
  ...
  themeConfig: {
    ...
    navbar: {
      items: [
          // blog rss
          {
            href: '/blog/rss.xml',
            label: 'RSS',
            position: 'right',
            target: '_blank', // Open the link in a new tab/window
          },
      ],
...
补充说明
BTW, 如果用 to 选项的话,点击 RSS 链接会报页面无法找到的 404 错误,
因为 Docusaurus 会把 to 选项的值当作一个页面的路径,而不是一个链接。
docusaurus.config.js
module.exports = {
  ...
  themeConfig: {
    ...
    navbar: {
      items: [
          // blog rss
          {
            to: '/blog/rss.xml',
            label: 'RSS',
            position: 'right',
          },
      ],
...

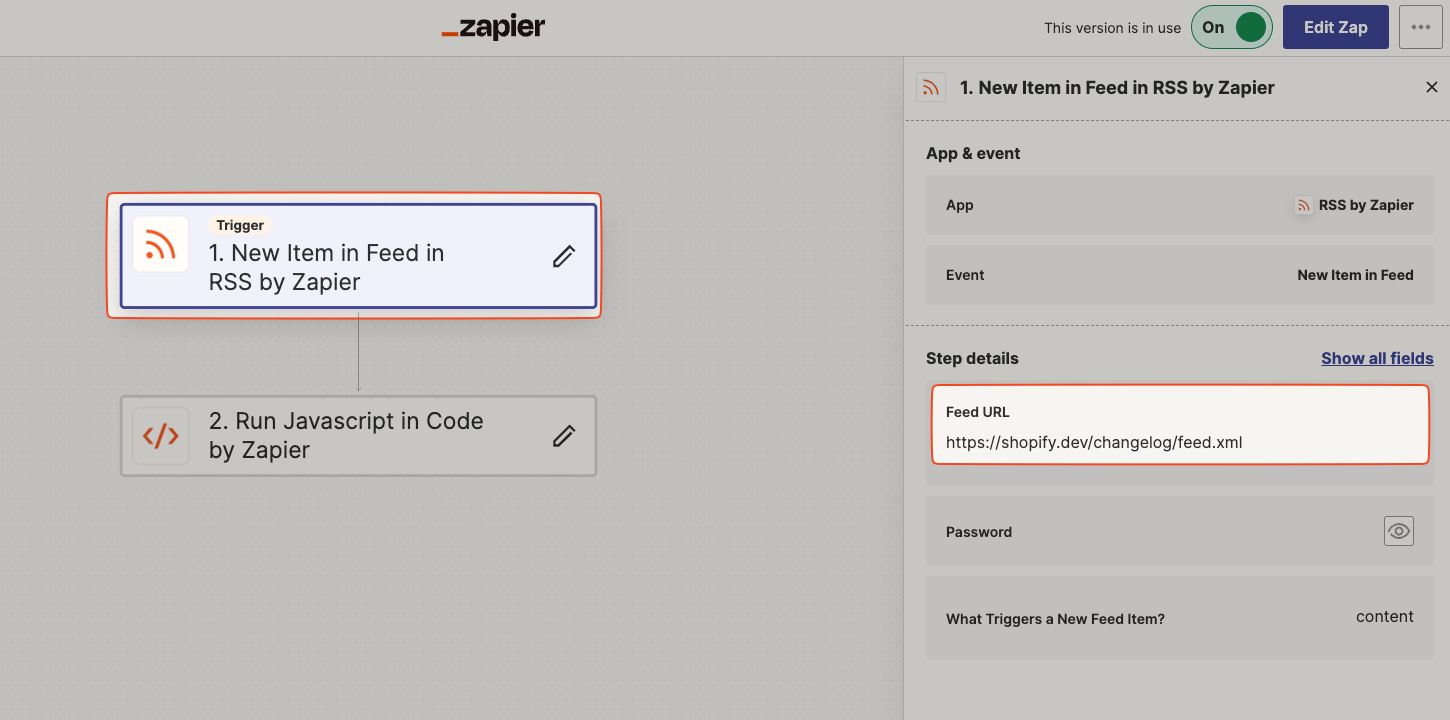 图 2
图 2